Tuesday, May 13, 2014

Old Fashioned Blackberry Jelly


There is nothing that personifies the south like blackberry jelly.  I remember as a child walking the fence rows and ditches with my Bigmama, a dishpan in hand gathering wild blackberries.  Of course, we ate as many as we picked, and she was constantly on the lookout for "rattlers".  My husband used to say there were 3 types of snakes in the world and all three would hurt you or make your hurt yourself:  1) poisonous 2) non-poisonous and 3) stick that looks like a snake.  That 3rd one got me more than once this weekend.

I happened across a vintage steamer in a flea market a couple of years back and this was the first time I've used it.  This thing is AWESOME!!  I was able to get almost 3/4 gallon of juice from the berries and it is all straight juice, no water added.  Simple too.  Just put it on the stove, adjust the temp (make sure you don't have any leaks--as you can see from my photos, that was a lesson learned mid-way through the process).  About 75 minutes later, I was in blackberry juice heaven!  I cannot wait to try it with plums and grapes.

As with any canning, ensure your jars are free of cracks and chips and well sanitized.  I know some people use a dishwasher, but I boil mine for about 10 minutes in my water bath canner then leave them sitting until the jelly is ready for jars. 

This type of jelly is beyond simple to make, and the great part, you know everything that's in it.  No artificial flavoring or colors.

3 3/4 cups blackberry juice
4 1/2 cups sugar
1 box of pectin (I always use Sure-Jell)

Add the pectin to the juice and bring to a roiling boil (stirring constantly) that cannot be stirred down.  Immediately add all the sugar and continue stirring constantly.  Once it comes to a full roiling boil, cook for 1 minute exactly and remove from heat.  You can add 1/2 tbsp of butter if you'd like to cut down on the foam.

Skim the foam from the top and ladle into hot jars leaving 1/2" head space.  Wipe rims well with a clean cloth and place lids and rings.  Finger tighten and then water bath for 5 minutes.  This recipe should produce six (6) 1/2 pints or three (3) pints of beautiful delicious jelly.  Enjoy!


Square Foot Garden Update


My garden looks wonderful!  Thank you Lord for the blessed rainfall.  I am hoping to have a bounty of fresh vegetables.  Time to start checking all the canning jars!!  This is my first year using the SF method and I have to admit, I was skeptical trying to grow so many items in such a small space, but the plants appear to be thriving.  I already have baby squash and tiny tomatoes and all the peppers are loaded with blooms.  Next year, I believe I will add more boxes.  I planted the following items and I will post updates on how they produce in case anyone else is thinking about experimenting with this concept:
Carrots (red, purple and white)
Lettuce (bib, red ruffle, romaine)
Scarlett Runner Beans (notice the pretty red flowers in the photos)
Purple Runner Beans (turn green when cooked)
Black-eyed peas
Butter Beans
Holstein Beans (first time trying these--they're black & white like the cow)
Strawberries
Onions (red and Texas Sweet)
Cabbage
Broccoli
English Peas
Cucumbers
Squash
Corn
Watermelons
Cantaloupes (Tigger Melons)
If all goes as planned, I will be a canning fool by June :-) 


Monday, April 21, 2014

HAPPY EASTER!!

Country Bread Baking Day

I've started making my own bread every Friday.  I played around with several recipes until I found the right balance and it hasn't failed me yet.  Compared to "store bought" bread, homemade is the way to go!  The crust is nice and soft and the bread holds it's shape, making it perfect for sandwiches (use it for a grilled cheese; you won't be disappointed!). 


Ingredients
2 packages (1/4 ounce each) active dry yeast.  If you are using bulk yeast, 4 1/2 tsps.
2 cups warm water (110° to 115°)
1/2 cup sugar
2 teaspoons kosher salt
2 eggs, lightly beaten
1/4 canola oil (I also use vegetable oil)
6 1/2 to 7 cups unbleached all purpose flour

Directions
In a large bowl, dissolve yeast in warm water.  Allow the yeast to "work" for about 5 minutes. 
In a large bowl, or the bowl of a stand mixer (with dough hook attached) add sugar, salt, eggs, oil and 3 cups of flour.  Beat until smooth.  Continue adding flour to form a soft dough.

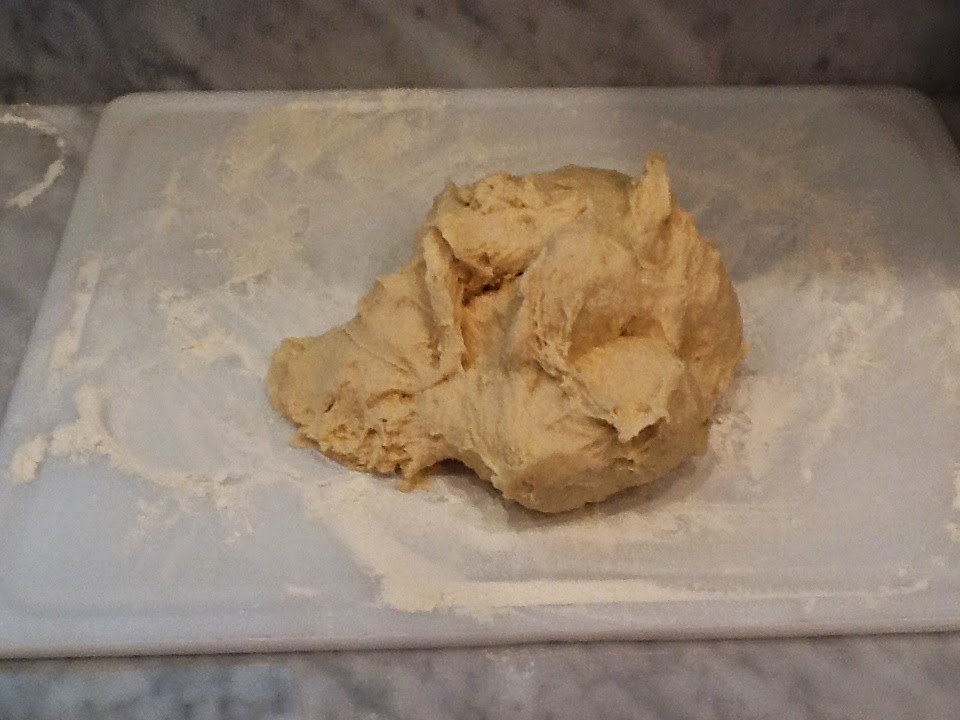
If using a standmixer with a hook attachment, mix on setting "2" for about 5 minutes, then turn onto a floured surface and knead until smooth and elastic.  If kneading by hand, knead approximately 6 to 8 minutes.  Place in a greased bowl, turning once to grease top.  Cover and let rise in a warm place until doubled, about 1 hour.

Punch dough down.  Divide in half and shape into loaves.  Place in two greased 9" x 5" loaf pans.  Cover and let rise again until doubled in size.

Bake at 375° for 25-30 minutes or until golden grown.  Yield 2 loaves


Monday, April 14, 2014

Busy Weekend!!

I finished my "scrap yard" green house and I must say I am very pleased with how it turned out.  I used several old windows and some scrap pallet wood I had saved for projects.  I did have to purchase the clear sheeting for the roof and some treated posts and 2x4s but all together it cost less than $200.  It's not that large, but perfect for what I need to use it for.  Already have trays full of seeds and I'm anxiously waiting to see how quickly they sprout.


The square foot garden project is well underway and I already have a nice stand of English Peas.  I have a panel ready to install for them to climb.  I used the "Mel's Mix" recommendation for the soil and it sure better make as that crap ain't cheap! 
I took a couple of hours to plant a bed around an oak tree that was only about 5 foot tall two years ago when I started building my house.  Still have to mulch the flowers but I was pleased with the way it turned out.  Still need to get the grass to grow and I may seed it one more time, but we have such sandy soil here it's difficult to get "good" grass to grow.

Road to Serenity


The road down to my farm house.  I love this view.  No matter how stressful the day has been, the moment I turn onto this road, the stress of the day melts away.  Sitting on the back porch with a big glass of sweet tea watching the deer sneaking through the woods.

Monday, April 7, 2014

Favorite Dill Pickle Recipe

This is one of my favorite pickle recipes.  As with any canning, please insure your jars and lids are well sanitized before you start.

Brine
1 quart white vinegar
3 quarts water
1 cup of pickling salt

Bring to boil and stir until all salt is dissolved

Place cucumbers in quart jars (I use wide mouth jars because they are easier to pack)

To each jar, add the following:
1/8 tsp alum
1/8 tsp crushed red pepper
1/8 tsp minced garlic
1 tsp dill seed
**I like my pickles spicier, so I double the amounts above**

Pour liquid in jars, leaving 1" head space, place lids on jars and water bath for 5 to 10 minutes.

Note:  I have found that soaking the cucumbers in ice water for at least two hours before pickling helps the pickles to be more crunchy and not mushy.